Backyard Hardscape Project Guide
Concrete Patio Guide to Forms, Finishing, and Sealing in 2026
Transform Your Outdoor Space: A Comprehensive Guide to Concrete Patio Planning
When it comes to enhancing your outdoor living experience, few projects can match the appeal and functionality of a concrete patio. It serves as a beautiful extension of your home, providing a space for relaxation, entertainment, and gatherings with family and friends. However, embarking on such a project can feel daunting, especially for those who are new to DIY renovations. This guide aims to simplify the process, offering practical advice and insights on DIY concrete patio planning, ensuring that you achieve a durable, attractive outdoor area without incurring unnecessary expenses.
Understanding the various aspects of planning a concrete patio is crucial. From selecting the right materials to mastering essential installation techniques, each step plays a vital role in the success of your project. Many homeowners face challenges like uneven ground, unclear installation steps, and the fear of making costly mistakes. This article will guide you through the entire process—addressing common concerns and providing actionable tips to help you build a patio that meets your needs and fits your budget.
By focusing on practical, step-by-step instructions, this guide seeks to empower you with the knowledge and confidence needed to take on this exciting project. Whether you're looking to create a serene retreat for quiet evenings or a lively gathering space for friends and family, the right planning and execution can turn your vision into reality. Let's dive into the essential elements of planning your DIY concrete patio.
Essential Steps in Planning Your Concrete Patio
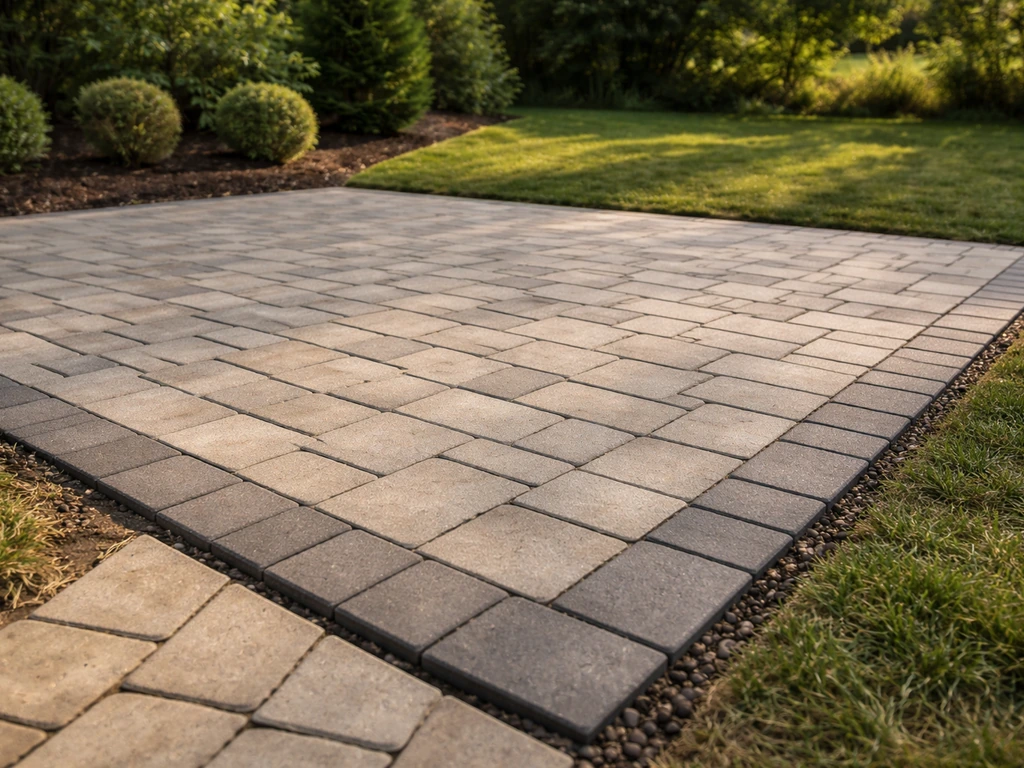
The first step in your concrete patio project is to determine the location and size of the patio. Consider how you intend to use the space—whether for dining, entertaining, or simply lounging in the sun. Additionally, assess how the patio will integrate with your existing landscape and home. It’s essential to measure the area accurately to avoid any surprises later on. A well-planned layout not only maximizes functionality but also enhances the overall aesthetic of your yard.
Once you have a clear idea of where your patio will go, it’s time to think about materials. Concrete is a versatile choice, but you can also consider various finishes and colors to achieve different looks. For instance, stamped concrete can mimic the appearance of stone or brick, adding a unique touch to your outdoor space. Research local suppliers to find the best prices on concrete and related materials, as well as any necessary tools you might need for the installation process.
Don't forget to check local building codes and regulations. Some areas require permits for outdoor construction projects, and adhering to these regulations is critical to avoid fines or required modifications later. Planning ahead can save you both time and money, ensuring your project remains compliant with local standards.
Choosing the Right Location for Your Patio
The location of your patio can significantly impact your enjoyment and usability. Assess factors such as sunlight, shade, and wind exposure. For example, if you enjoy sunny afternoons, consider placing your patio in a spot that receives ample sunlight. Conversely, if you prefer shade, look for areas that are naturally shaded by trees or structures. Additionally, consider proximity to your home for convenience and accessibility.
Another critical factor is drainage. Ensure that your patio will not collect water or create puddles, which can lead to erosion over time. Sloping the patio slightly away from your house can facilitate proper drainage and prevent water damage. Incorporating drainage solutions such as trenches or gravel beds can also help manage excess water.
Gathering the Necessary Tools and Materials
Before you start pouring concrete, it’s essential to gather all necessary tools and materials. At a minimum, you will need a concrete mixer or wheelbarrow, shovels, trowels, a level, and a measuring tape. Other helpful tools may include a concrete float to smooth the surface, stakes and string lines for layout, and protective gear such as gloves and goggles.
When it comes to materials, you’ll obviously need concrete, but it’s also wise to consider additives that can enhance durability and finish. For example, using a concrete sealer can help protect your patio from stains and weathering. Additionally, you may want to invest in decorative aggregates or colorants for a more personalized look.
Understanding Concrete Types and Finishes
Concrete comes in various types, each suited for different applications. Standard ready-mix concrete is commonly used for patios, but you might also consider high-strength concrete for areas with heavy traffic or specialized mixes designed for specific environmental conditions. Understanding these options can help you select the most appropriate material for your needs.
In terms of finishes, the choices are plentiful. A smooth finish is ideal for a sleek, modern look, while a textured finish can provide additional grip and visual interest. Stamped concrete and colored concrete are popular options for homeowners looking to add a unique flair to their patios. Research various techniques to find the one that best suits your style and complements your home. DIY patio building
Preparing the Site for Your Patio
Site preparation is crucial for a successful concrete patio installation. Start by clearing the area of any existing vegetation, debris, and large rocks. Next, you will need to excavate the site to a depth of approximately 4-6 inches to accommodate the concrete slab. This depth allows for a stable base and helps prevent cracking.
After excavation, it’s important to compact the soil to create a firm foundation. You can do this using a manual or mechanical compactor. A well-compacted base helps to minimize settling and can enhance the lifespan of your patio. If your soil is particularly sandy or loose, consider adding a layer of gravel to improve stability.
Creating a Strong Base for Concrete
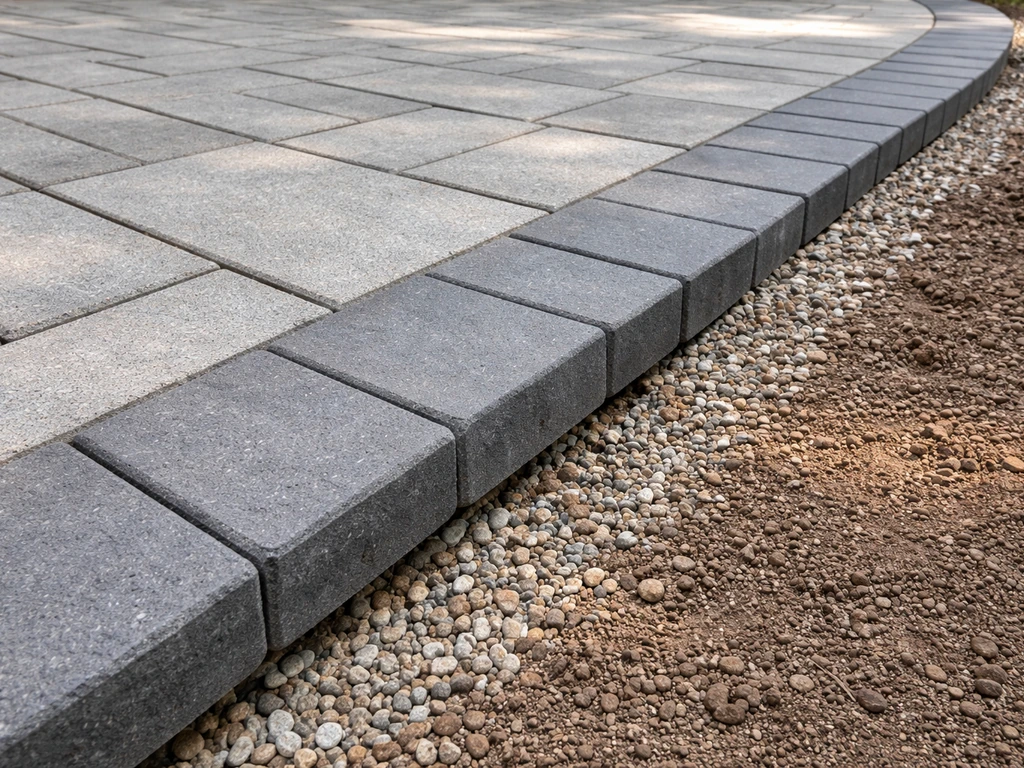
Once your site is prepared, you’ll need to lay down a base layer of gravel. This layer not only aids drainage but also provides a stable support structure for your concrete. Spread the gravel evenly and compact it to create a firm surface. The recommended thickness for gravel is typically around 2-3 inches, depending on the soil conditions.
After installing the gravel base, you should add a layer of landscape fabric to prevent weeds from growing through your patio. This fabric allows water to pass through while blocking sunlight, thus inhibiting weed growth. Proper preparation at this stage can save you considerable maintenance effort in the future.
Setting Up Forms for Concrete Pouring
Formwork is essential for shaping your concrete slab and ensuring it holds the desired dimensions. Use wooden boards or metal forms to outline the perimeter of your patio. Secure the forms with stakes to ensure they remain in place during pouring. Additionally, make sure the tops of the forms are level to achieve a flat surface. This step is critical, as any inconsistencies in the formwork will be reflected in the finished patio. concrete patio guide
Before pouring, apply a release agent to the inside of the forms. This will help prevent the concrete from sticking to the forms and make removal easier once the concrete has cured. Take your time with this step, as proper formwork will significantly affect the final appearance of your patio.
Pouring and Finishing the Concrete
Once your forms are set and ready, it’s time to pour the concrete. It’s best to do this on a day when the weather is mild—ideally, when temperatures are between 50°F and 85°F. Extreme heat or cold can affect the curing process, leading to cracks or other issues.
Begin pouring the concrete into the forms, starting at one end and working your way to the other. Use a shovel or hoe to spread the concrete evenly, filling the forms completely. Once poured, use a screed board to level the surface. This board should be pulled across the top of the forms in a sawing motion to smooth the concrete and ensure it is even.
Smoothing and Texturing the Surface
After leveling, use a trowel to smooth the surface further. This process can take some time, as you want to achieve a perfectly flat finish. If you’re opting for a textured finish, now is the time to add that texture using a broom or other tools designed for this purpose. Textured surfaces can provide better traction, making your patio safer during wet conditions.
Once you’re satisfied with the surface, use a concrete float to further smooth and finish the surface. This tool will help eliminate any imperfections while providing a polished look. Pay attention to corners and edges, as these areas can be tricky but are vital for the overall appearance of your patio.
![]()
Curing the Concrete for Longevity
Curing is a crucial step that involves keeping the concrete moist for several days to allow it to harden properly. Cover the patio with plastic sheeting or burlap to retain moisture, especially in hot weather. Ensure that the surface remains damp for at least 7 days to achieve optimal strength. During this time, avoid walking on the patio to prevent any damage.
After the initial curing period, you can remove the forms. However, continue to care for the newly poured concrete by keeping it moist for at least a week. Proper curing can significantly extend the lifespan of your patio and reduce the likelihood of cracking.
Maintenance Tips for Your New Concrete Patio
Once your concrete patio is complete, maintaining it properly will ensure it remains in excellent condition for many years. Regular cleaning is essential; use a broom or leaf blower to remove debris and a pressure washer for deeper cleaning. Avoid harsh chemicals that can damage the concrete surface.
Sealing your concrete patio is another important maintenance task. A high-quality concrete sealer will protect against stains, moisture, and UV damage. Depending on the environmental conditions and usage, it’s advisable to reapply sealer every 1-3 years. This will not only help maintain its appearance but also prolong the life of your patio.
Addressing Common Issues
Over time, you may encounter common issues such as cracks or surface stains. Small cracks can often be filled with a concrete patching compound, while larger cracks may require professional attention. For stains, a mixture of water and mild detergent can often do the trick, but tougher stains may need specialized cleaning products.
Additionally, be vigilant about preventing weeds from growing around the edges of your patio. Regularly inspect the perimeter and remove any emerging weeds promptly. Applying a layer of mulch or gravel around the edges can also help deter weed growth. patio pavers DIY
Enhancing Your Patio with Furniture and Decor
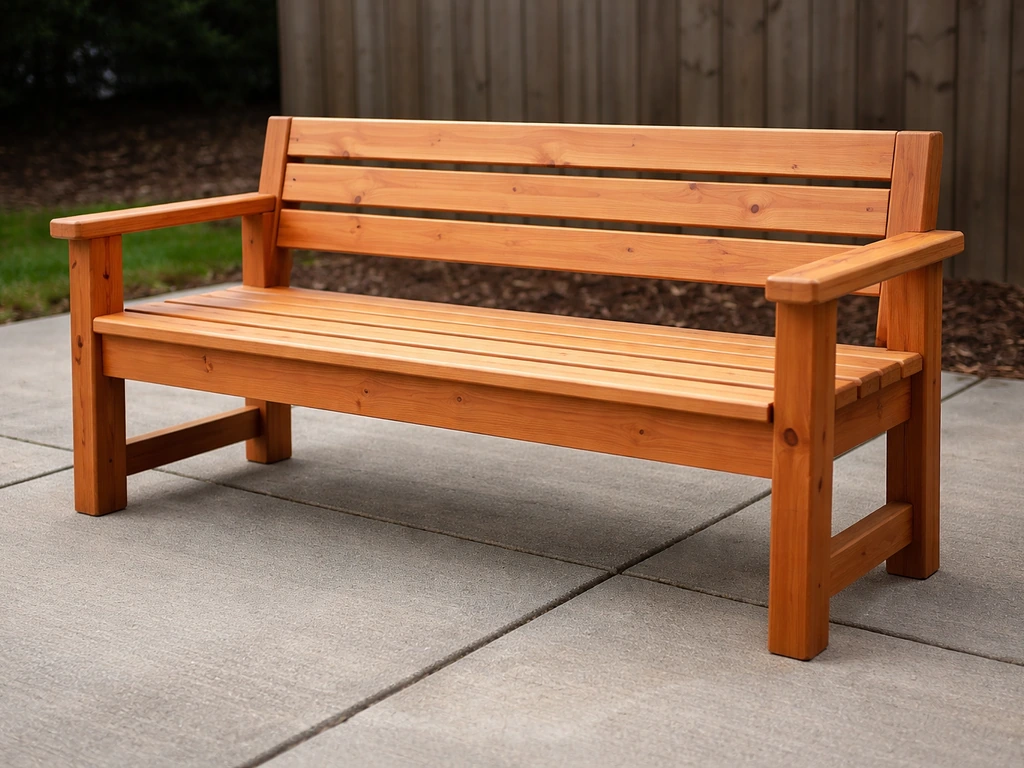
Once your patio is established, consider how you can enhance the space with outdoor furniture and decor. Choosing weather-resistant furniture can make your patio more inviting and functional. Think about adding features like an outdoor rug, cushions, and decorative lighting to create a cozy atmosphere.
Incorporating plants and landscaping around your patio can also improve its visual appeal. Consider planting flowers, shrubs, or even creating planter boxes. These elements can add color and life to your outdoor space, turning your concrete patio into a vibrant extension of your home.
Table of Concrete Types and Their Uses
| Concrete Type | Best For | Key Features |
|---|---|---|
| Standard Mix | General use patios | Affordable, strong, versatile |
| High-Strength Mix | Heavy traffic areas | Durable, resistant to cracking |
| Decorative Concrete | Aesthetic-focused projects | Variety of finishes and colors |
| Rapid-Set Concrete | Quick repairs | Fast curing, ideal for urgent projects |
| Fiber-Reinforced Concrete | Areas prone to cracking | Enhanced strength, crack resistance |
This table summarizes different types of concrete and their specific applications. Understanding these options will help you choose the right mix for your patio project, ensuring durability and aesthetic appeal.
Pros and Cons
- Pros:
-
- Durability: Concrete patios are exceptionally durable, withstanding heavy foot traffic and weather elements.
-
- Low Maintenance: Once installed, concrete requires minimal maintenance compared to other patio materials.
-
- Versatile Design: You can customize the look of your concrete patio with various finishes and colors.
-
- Cost-Effective: DIY installation can save you significantly on labor costs, making it a budget-friendly option.
-
- Cons:
-
- Cracking Potential: Without proper installation and curing, concrete can crack over time.
-
- Initial Labor-Intensive: The installation process can be labor-intensive and requires physical effort.
-
- Temperature Sensitivity: Extreme temperatures can affect the curing process, leading to potential issues.
-
When weighing the pros and cons of a concrete patio, consider your long-term goals and maintenance capabilities. While the durability and cost-effectiveness are significant advantages, potential issues such as cracking and the labor required for installation should also be taken into account. Ultimately, a well-planned project can minimize drawbacks and maximize enjoyment.
Frequently Asked Questions
- How long does it take for a concrete patio to cure?
The curing process typically takes about 28 days for concrete to reach its full strength. However, initial setting occurs within 24-48 hours, allowing for light foot traffic. It's crucial to keep the surface moist for at least a week during curing.
- Can I pour concrete over an existing patio?
Yes, you can pour new concrete over an existing patio, provided the old surface is stable and in good condition. It's advisable to clean the existing patio and apply a bonding agent to ensure strong adhesion between the two layers.
- What is the best time of year to pour a concrete patio?
The best time to pour a concrete patio is during mild weather, ideally between 50°F and 85°F. Avoid extreme temperatures and rainy conditions, as these can adversely affect the curing process.
- How thick should a concrete patio be?
A typical concrete patio should be at least 4 inches thick for residential use. In areas with heavy loads, such as driveways, consider a thickness of 5-6 inches for added strength.
- What type of concrete is best for patios?
A standard ready-mix concrete is commonly used for patios, but high-strength or decorative concrete mixes can be beneficial depending on your specific needs and aesthetic preferences.
Conclusion
Planning and pouring a concrete patio is a rewarding project that can significantly enhance your outdoor living space. By understanding the essential steps—from site preparation to the final finishing touches—you can create a durable, attractive patio that meets your needs. Remember to consider the location, materials, and maintenance requirements as you embark on this journey. With careful planning and execution, your DIY concrete patio will not only add value to your home but also provide a beautiful area for relaxation and entertainment for years to come. Embrace the challenge and enjoy the process of transforming your outdoor space!

Public Last updated: 2026-05-25 06:00:15 PM