Will a Mini Split That Heats to -4°F Be Enough Where I Live?
If you’re considering a cold climate mini split for your home, you’ve likely come across models boasting their ability to heat efficiently down to -4°F. Brands like Pioneer, MRCOOL, and Zone Air often highlight this as a key feature, especially for homeowners in chillier regions. But the real question is, "Will a mini split that heats to -4°F be enough for where I live?"
In this comprehensive post, we’ll break down what that -4°F heating capability means in practice, dive into the differences between true DIY mini splits and professional-install-only systems, as well as examine the power options and installation methods. We’ll also discuss pre-charged line sets and quick connect fittings — two technical advances making install easier — and set proper expectations for install time and homeowner workflow.
What Does Heating to -4°F Really Mean?
When a manufacturer states their mini split can heat efficiently down to -4°F, this refers to the system’s ability to supply heat when outdoor temperatures are as low as -4°F. Below that temperature, the heat pump’s efficiency and capacity start to drop, and supplemental heating or a backup source might be required.
- Cold Climate Mini Splits: These models are specially designed with enhanced compressors, improved refrigerant circulation, and defrost cycles optimized for cold weather operation.
- Pioneer -4°F Heating: Pioneer’s cold climate mini splits are a popular choice for homeowners who want reliable heat down to -4°F without a major upfront cost. They balance price and performance, delivering decent heating well into the cold season.
- MRCOOL and Zone Air: These brands also offer mini splits suited for cold climates, with similar low-temperature heating capabilities and features optimized for colder regions.
Bottom line: If your winter temperatures rarely drop below -4°F and you want a cleaner, more efficient alternative to electric baseboards or propane, these mini splits can be enough — especially when paired with good home insulation.
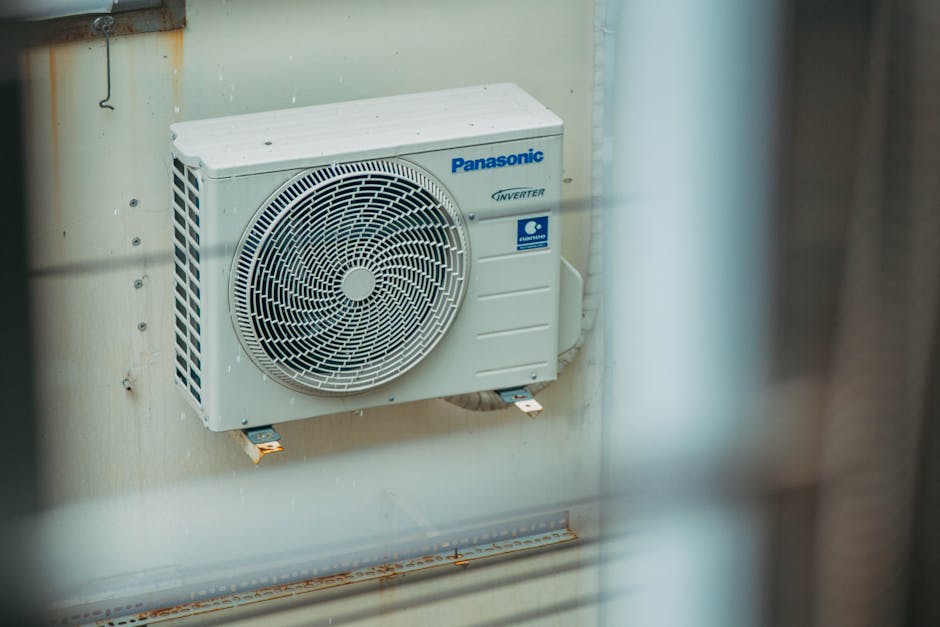
True DIY vs Pro Install-Only Mini Splits
One of the biggest factors to consider is the installation style. Here’s how the marketplace breaks down:
True DIY Mini Splits
- Pre-charged line sets: These line sets come factory-charged with refrigerant, allowing you to avoid refrigerant handling or vacuum pumps during install. It’s a game-changer for homeowners wanting to self-install.
- Quick connect fittings: MRCOOL and Pioneer lead here, offering quick connect fittings that allow you to “snap” refrigerant lines together without specialized tools or gauge sets.
- 115V Plug-In Convenience: Many DIY-friendly models run on standard 115V outlets, meaning no electrician is needed for hard wiring. Simply plug in and get started.
- Limitations: These true DIY mini splits are often smaller capacity units designed for single rooms or small zones. They may not be ideal for whole-house solutions or very large spaces.
Pro-Install-Only Systems
- 230V Hard-Wiring Reality: Larger capacity mini splits usually require a dedicated 230V circuit and electrical disconnect box. Hard wiring often mandates hiring a licensed electrician.
- Custom Line Sets: Installed by pros, these systems come with copper lines that are field-cut, flared, evacuated, and charged—a complex process requiring refrigerant tools and experience.
- Flexible Designs: Pro installs support multi-zone systems and larger BTU capacities, fitting whole-home heating and cooling needs.
Many homeowners find a hybrid approach beneficial: starting with a DIY-friendly mini split cost 2026 single-zone model for an addition or workshop, then adding professional installed systems later for bigger jobs or whole-home comfort.
Understanding Power Options: 115V Plug-In vs 230V Hard-Wiring
Powering your mini split is more than just plugging it in. Here are the main differences:
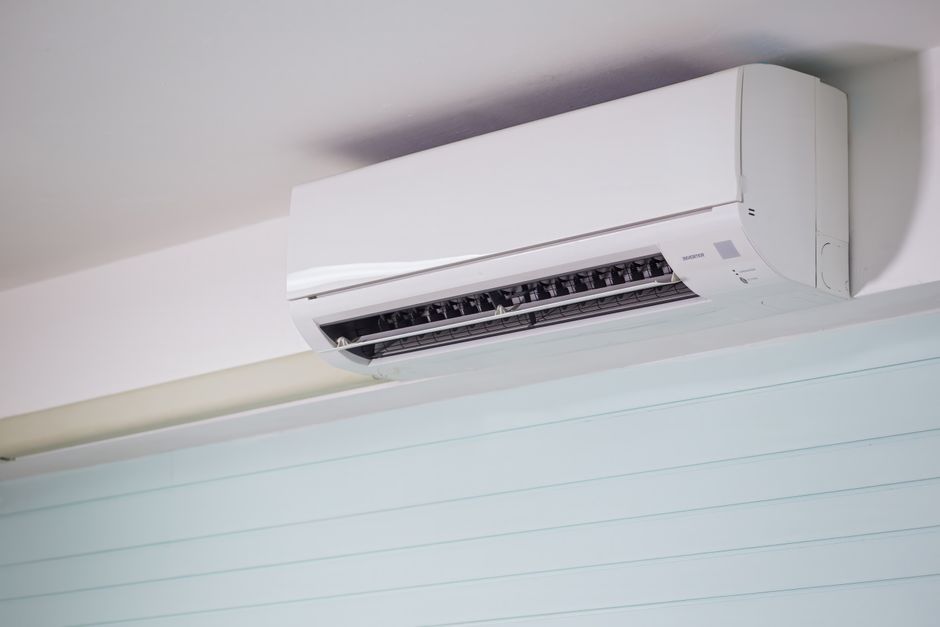
Power Type Description Pros Cons 115V Plug-In Standard wall outlet connection
- No electrician needed
- Quick installation and easy relocation
- Ideal for smaller units & DIY installs
- Limited BTU capacity
- Less common in whole-home systems
230V Hard-Wiring Dedicated circuit, usually installed by professionals
- Supports larger capacity units
- Better for multi-zone or whole-home heating
- More efficient electrical supply
- Requires licensed electrician
- Higher upfront install costs and timeline
For many cold climate mini splits that deliver heating at -4°F, 230V wiring is often the standard, especially for systems over 12,000 BTU. However, brands like MRCOOL have bridged this gap with their plug-and-play 115V systems.
Pre-Charged Line Sets and Quick Connect Fittings: What Homeowners Need to Know
Traditionally, installing a mini split required handling refrigerant, including vacuum pumps, gauges, and refrigerant charging — tasks that are often beyond the DIY homeowner’s skills, regulations, or comfort level. Luckily, technology and design have advanced to change this.
Pre-Charged Line Sets
Pre-charged line sets come factory sealed with refrigerant inside. This eliminates the need for vacuum evacuation or charging onsite. You simply:
- Measure and cut the line set to length
- Connect it to the indoor and outdoor unit
- Open valves or fittings to release refrigerant flow
For DIYers, this means no need to get EPA-certified to handle refrigerants or rent expensive charging equipment.
Quick Connect Fittings
Pioneer, MRCOOL, and Zone Air have all developed proprietary quick connect fittings that simplify refrigerant line coupling. Instead of flaring, brazing, or screwing fittings, you just slide and snap together the connections in a leak-proof manner.
This innovation saves significant time and decreases technical errors during installation, reducing callbacks and improving DIY success.
Install Time Expectations and Homeowner Workflow
Understanding how long installation takes and what the workflow looks like helps you plan the project and set realistic expectations.
DIY Mini Split Installation Workflow
- Select location: Choose interior wall mounting and outdoor condenser placement with good air flow
- Drill hole for line set and wiring pass-through (usually 2-3 inches diameter)
- Mount indoor unit bracket and outdoor unit pad or brackets
- Run pre-charged line set and wiring through the wall
- Connect quick connect fittings and tighten electrical connections
- Seal and insulate wall hole to prevent drafts
- Plug in power (115V) or connect to circuit (230V hard-wired)
- Test and start up the system per manufacturer instructions
Typical DIY install time is 3–6 hours depending on experience and complexity. Expect some trial and error if it’s your first time.
Professional Install Workflow
- Site inspection and load calculation
- Electrical permit and wiring installation
- Mount indoor and outdoor units
- Field bending, flaring, brazing copper lines and evacuating refrigerant lines
- Charging or topping refrigerant levels
- System test run, performance check, and homeowner orientation
Professional installs usually take 1-3 days depending on system size and complexity.
Will a Mini Split Heating to -4°F Be Suitable Where You Live?
To answer this requires understanding your region’s climate profile and your home’s insulation quality:
- If winter lows hover above -4°F most days, a cold climate mini split from Pioneer, MRCOOL, or Zone Air will generally cover your heating needs with high efficiency and comfort.
- If temperatures regularly drop below -4°F, you’ll want either backup heating (like electric resistance coils integrated into the mini split), supplemental systems, or higher-end cold climate units designed for -15°F or below.
- Well-insulated homes reduce heat loss, making -4°F rated mini splits perform better and consume less energy.
Ask yourself also if you want a single zone (ideal for DIY install and 115V plug-ins) or a multi-zone whole-house system (usually 230V, pro installed). Your budget, electric panel capacity, and willingness to hire pros will shape the decision as well.
Summary: Key Points to Remember
- Cold climate mini splits heating to -4°F are a practical solution for many cold-region homeowners, especially with good insulation.
- DIY Mini splits with pre-charged line sets and quick connect fittings from MRCOOL, Pioneer, and Zone Air enable simpler installations without refrigerant handling.
- Power options vary: 115V plug-in is best for smaller, easy installs; 230V hard-wired systems allow higher capacity but usually need pros.
- Install time: DIY installs generally take a day or less, while pro installs take longer but suit bigger jobs.
- Consider your local climate patterns and backup heat needs if temps routinely fall much below -4°F.
Thinking through these factors helps you pick the right mini split system that not only suits your home’s heating demands but also matches your desired degree of DIY involvement and budget.
Have you installed or considered a cold climate mini split at your home? Share your experiences and questions below — or check out Zone Air, MRCOOL, and Pioneer’s websites for model specifics and install guides tailored to your needs.

Public Last updated: 2026-09-27 06:03:03 PM