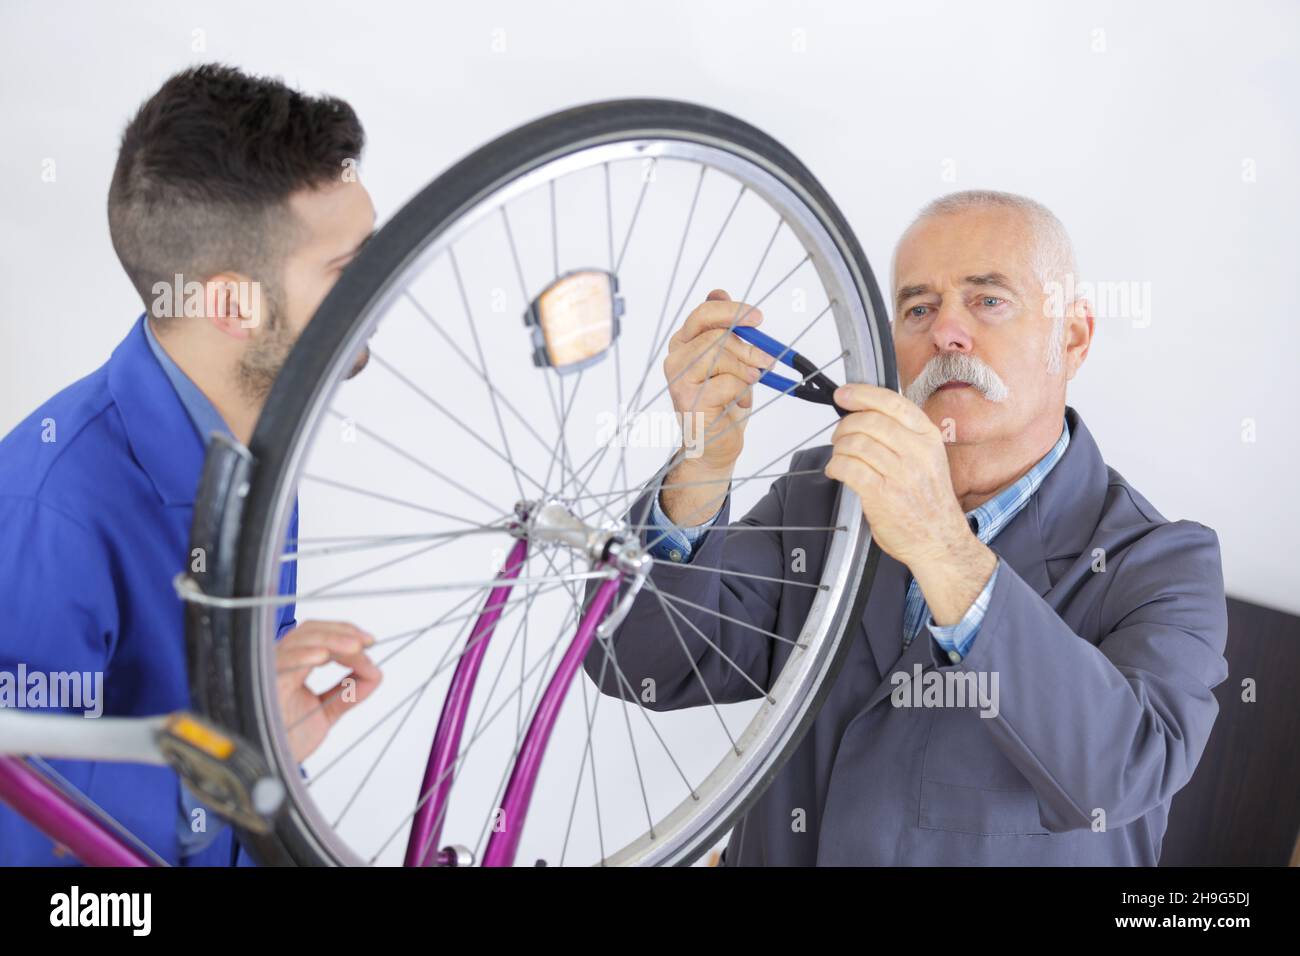
Bike Repair Course
Enroll in a Bike Repair Course Today and Master Bicycle Maintenance Fast
Bike Repair Made Easy: The Quickest Fixes for Common Bicycle Problems
Fixing common bike issues doesn't require professional skills. For flat tires, use tire levers, patch kits, and a pump to get rolling in minutes. Adjust squeaky brakes with barrel adjusters and clean pads with isopropyl alcohol. Fix shifting problems by checking derailleur alignment and cable tension. Keep your chain clean with regular degreasing and lubrication. Pack essential tools like multi-tools, spare tubes, and compact pumps for roadside repairs. These quick fixes will transform your maintenance approach.
Key Takeaways
- Fix flat tires quickly by removing the wheel, using tire levers carefully, patching punctures, and properly reinstalling.
- Adjust squeaky brakes by cleaning pads with alcohol, adjusting tension with barrel adjusters, and ensuring even pad contact.
- Solve gear shifting problems by checking derailleur alignment, adjusting limit screws, and maintaining proper cable tension.
- Clean and lubricate your chain every 100-150 miles using a chain cleaning tool and appropriate lubricant.
- Prepare for roadside repairs with a compact toolkit containing tire levers, a patch kit, multi-tool, and spare tube.
The 5-Minute Flat Tire Fix Anyone Can Master
Five essential tools are all you'll need to conquer a flat tire in minutes: a tire lever, puncture patch, and an inflation device. Begin by removing your wheel using the quick-release lever or wrench. Use the tire lever to carefully pry the tire from the rim, avoiding damage to the tube—a key puncture prevention technique.
Inspect the inner tube thoroughly, marking any punctures you find. Clean the damaged area before applying your patch. For proper tire maintenance, inflate the tube slightly before reinstallation to prevent pinching.
Place the tube back into the tire, then secure the tire onto the rim. Inflate to the recommended pressure listed on your tire's sidewall. Finally, reattach the wheel firmly to your bike's frame. Regular inspection is essential for preventing roadside emergencies.
Quick Brake Adjustments for Safer Rides
When your brakes emit that telltale squeak, you'll need to inspect the pads for glazing and sand them lightly with fine-grit sandpaper to restore proper friction. You can quickly adjust brake tension without tools by locating the barrel adjuster where the cable meets the lever, turning it clockwise for tighter brakes or counterclockwise for more clearance. For peak performance, verify your brake pads contact the rim squarely by adjusting the spring tension screws on each side of the caliper until both pads hit simultaneously.
Squeaky Brake Solutions
Persistent squeaking from your bicycle brakes indicates an issue that requires prompt attention for both riding comfort and safety. One of the primary brake noise causes is misaligned calipers against the rim or rotor. Simply center your brake calipers to guarantee even contact with the braking surface.
Clean your brake pads and rims regularly with isopropyl alcohol to remove debris that causes unwanted noise. For pad replacement tips, always check the wear indicator—pads worn to this mark need immediate replacement to maintain effective stopping power.
Don't overlook proper lubrication of levers and cables, as dry components create friction and squeaking (cycle repair instructions). If you have hydraulic disc brakes, bleeding the system removes air bubbles that contribute to noise while improving responsiveness. These simple maintenance steps will keep your braking system quiet and reliable
Tool-Free Tension Tweaks
Many riders overlook the importance of proper brake tension despite its critical role in ensuring timely stops and preventing accidents. Your bike likely features built-in adjustment mechanisms that don't require tools. By mastering these simple tweaks, you'll maintain ideal stopping power and extend component life.
- Locate the quick-release mechanism on your brakes to instantly adjust brake cable tension when needed
- Use your fingers to fine-tune pad alignment, ensuring even contact with the rim or rotor
- Test brake response after adjustments by squeezing levers firmly—they should engage before reaching halfway to the handlebar
Regular tension checks prevent dangerous stopping distance increases. Different brake systems (rim or disc) have specific adjustment features, so familiarize yourself with your model's particular design. These maintenance habits not only improve performance. DIY bicycle repair tips but considerably enhance your safety on every ride
Gear Shifting Problems Solved in Minutes
Why struggle with clunky gear changes when you can fix most shifting issues in under 10 minutes? Start by checking your derailleur alignment, as misalignment is the primary culprit behind poor shifting efficiency. Inspect your chain for wear and apply lubricant if it's dry—this simple step often restores smooth operation.
Next, adjust the limit screws on your derailleur to prevent the chain from falling off during shifts. This critical safety measure guarantees reliable performance on every ride. Fine-tune your cable tension. Repair Bicycle using the barrel adjuster on your shifter when you experience skipping or hesitation between gears
Don't overlook regular cleaning of shifters and cables—accumulated grime can cause unexpected shifting problems that compromise your control and safety on the road.
Chain Maintenance Shortcuts That Actually Work
You'll save hours of maintenance time with a dedicated on-bike chain cleaning tool (bicycle repair workshops) that applies degreaser while you rotate your pedals backward. For quick on-the-go lubrication, carry a small bottle of dry lubricant that can be applied without removing the chain, wiping off excess immediately to prevent dirt accumulation. These maintenance shortcuts maintain peak drivetrain performance between thorough cleanings, extending your chain's lifespan while ensuring crisp shifting during rides
Quick Chain Cleaning Hacks
Chain maintenance often feels like a tedious chore, but it doesn't have to be. With proper chain cleaning techniques, you'll improve shifting performance by up to 30% and greatly extend your drivetrain's lifespan. The degreaser effectiveness depends on your approach—use these proven methods:
- Apply degreaser with an old toothbrush to scrub away stubborn grime and buildup, focusing on link articulation points.
- Invest in a plastic chain cleaning tool that holds degreaser while you pedal backward—cutting cleaning time in half.
- Follow a 100-150 mile cleaning schedule, applying lightweight lubricant after each cleaning session.
These techniques not only enhance your bike's performance but also reduce safety risks associated with unexpected chain failures (bicycle repair training). A clean chain provides more reliable shifting when you need it most, especially during challenging rides
On-the-Go Chain Lubing
Proper on-the-go lubrication represents the difference between smooth riding and frustrating mid-journey breakdowns. Regular chain maintenance reduces friction by up to 50%, markedly improving shift quality and overall chain performance. Carry a portable chain lube applicator in your bike bag for immediate access during rides.
| Condition | Application Frequency | Safety Benefit |
|-----------|----------------------|----------------|
| Dry/Normal | Every 100-200 miles | Prevents unexpected chain failure |

| Wet/Rainy | After each wet ride | Reduces rust and corrosion risk |
| Dusty/Muddy | After dusty conditions | Maintains reliable braking response | detailed bike repair guide.
For effective mobile lubrication, quickly wipe the chain with a cloth to remove surface debris. Apply a few drops to each link while rotating the pedals backward, ensuring even distribution. This simple maintenance routine maximizes chain performance and extends component life without requiring extensive mechanical knowledge.
Essential Tools for Rapid Roadside Repairs
When venturing out on two wheels, being prepared for mechanical mishaps can mean the difference between a minor delay and a ride-ending breakdown. Your repair kit essentials - how to repair a bicycle should focus on versatility and compactness while addressing common roadside issues efficiently
Preparedness transforms potential ride-enders into mere pitstops when cycling adventures face mechanical challenges. (professional bicycle repair training)
- Equip your portable toolkit with tire levers, a patch kit, multi-tool, and mini-pump or CO2 inflator for immediate tire fixes
- Always include a spare tube matching your bike's tire size—this greatly reduces downtime compared to patching
- Consider a foldable bike stand for stable repairs and a torque wrench to guarantee components are tightened to manufacturer specifications
Don't overlook safety components—a compact first aid kit complements your mechanical tools, allowing you to address minor injuries alongside bike repairs, keeping both you and your bicycle operational.
Squeaky Components: Simple Silence Solutions
Nothing disrupts a peaceful ride more than persistent squeaking from your bicycle. For effective noise reduction, begin with thorough component inspection, examining the chain, brakes, and derailleurs for accumulated dirt that often causes unwanted sounds.
Clean affected components thoroughly, then apply bike-specific lubricant to moving parts to reduce friction. This simple maintenance step often resolves most squeaking issues immediately.
Check for loose bolts and tighten them appropriately—rattling components frequently create annoying noises during rides. Pay particular attention to brake pad alignment relative to wheel rims, as misaligned pads commonly produce squeaks when applied.
Implement regular maintenance routines including cleaning and lubrication to prevent squeaky components from developing and extend your bicycle's lifespan while ensuring quieter, safer rides.
Frequently Asked Questions
How Often Should I Have My Bike Professionally Serviced?
You should schedule professional maintenance every 6-12 months, adjusting service intervals based on your riding frequency and conditions. Increase to every 3-4 months if you ride 100+ miles weekly for maximum safety.
Can I Repair a Damaged Bike Frame at Home?
Like walking a tightrope, frame repairs require careful assessment. You can fix minor cracks with epoxy, but critical damage demands professional attention. Proper repair techniques depend on frame material and damage severity.
What's the Best Lubricant for Different Weather Conditions?
For dry conditions, use Teflon-based dry lubricant to repel dirt. In wet conditions, apply thicker wet lube to prevent rust. fixing your own bike. Clean your chain thoroughly before applying any new lubricant for best safety
How Do I Fix Stripped Threads on My Bike?
Like breathing new life into metal, you'll need a thread repair kit for stripped threads. Clean damaged holes thoroughly, then install Helicoil inserts for aluminum frames, ensuring secure component connections.
When Should I Replace My Bike Tires Instead of Repairing Them?
Replace your tires when tread depth drops below 1/16 inch, you see damage like cuts or bulges, sidewalls crack, tire age exceeds 5-7 years, or you're experiencing recurring flats despite repairs.
Conclusion
With these quick fixes in your toolkit, you'll transform from stranded cyclist to confident mechanic in minutes. Picture your fingers deftly tightening that brake cable as sunset approaches, or imagine the satisfying click of properly indexed gears. Don't let mechanical issues steal your momentum - DIY bicycle repair tips. Apply these techniques consistently, and you'll extend your bike's lifespan while keeping your wheels spinning smoothly down whatever path you choose

Public Last updated: 2025-03-13 07:56:16 AM