Budget-Friendly Auto Detailing: What to DIY and What to Outsource
Car detailing rewards patience and precision. The trick, if you are watching your budget, is deciding what to tackle yourself and what to leave to a pro. Make the right calls and you keep your vehicle clean, protected, and presentable without overspending. Make the wrong ones and you chase streaks, mar, paint, or burn a weekend only to end up calling a detailer anyway.
I have worked through both sides of that ledger. I have corrected sanding marks left by a well-intended father and son with a box-store polisher. I have also seen smart DIY work, the kind you can be proud of every week when you open the garage. This guide breaks down the judgment calls with practical detail, from safe wash methods to ceramic coating decisions, and touches on less typical surfaces like RVs and boats where the game changes.
Where DIY Shines: High-Return Tasks With Low Risk
Routine cleaning pays off more than almost any other car care. A consistent wash schedule and interior upkeep stop grime from bonding, which slows down wear and keeps the vehicle easier to maintain. The key is process, not expensive products.
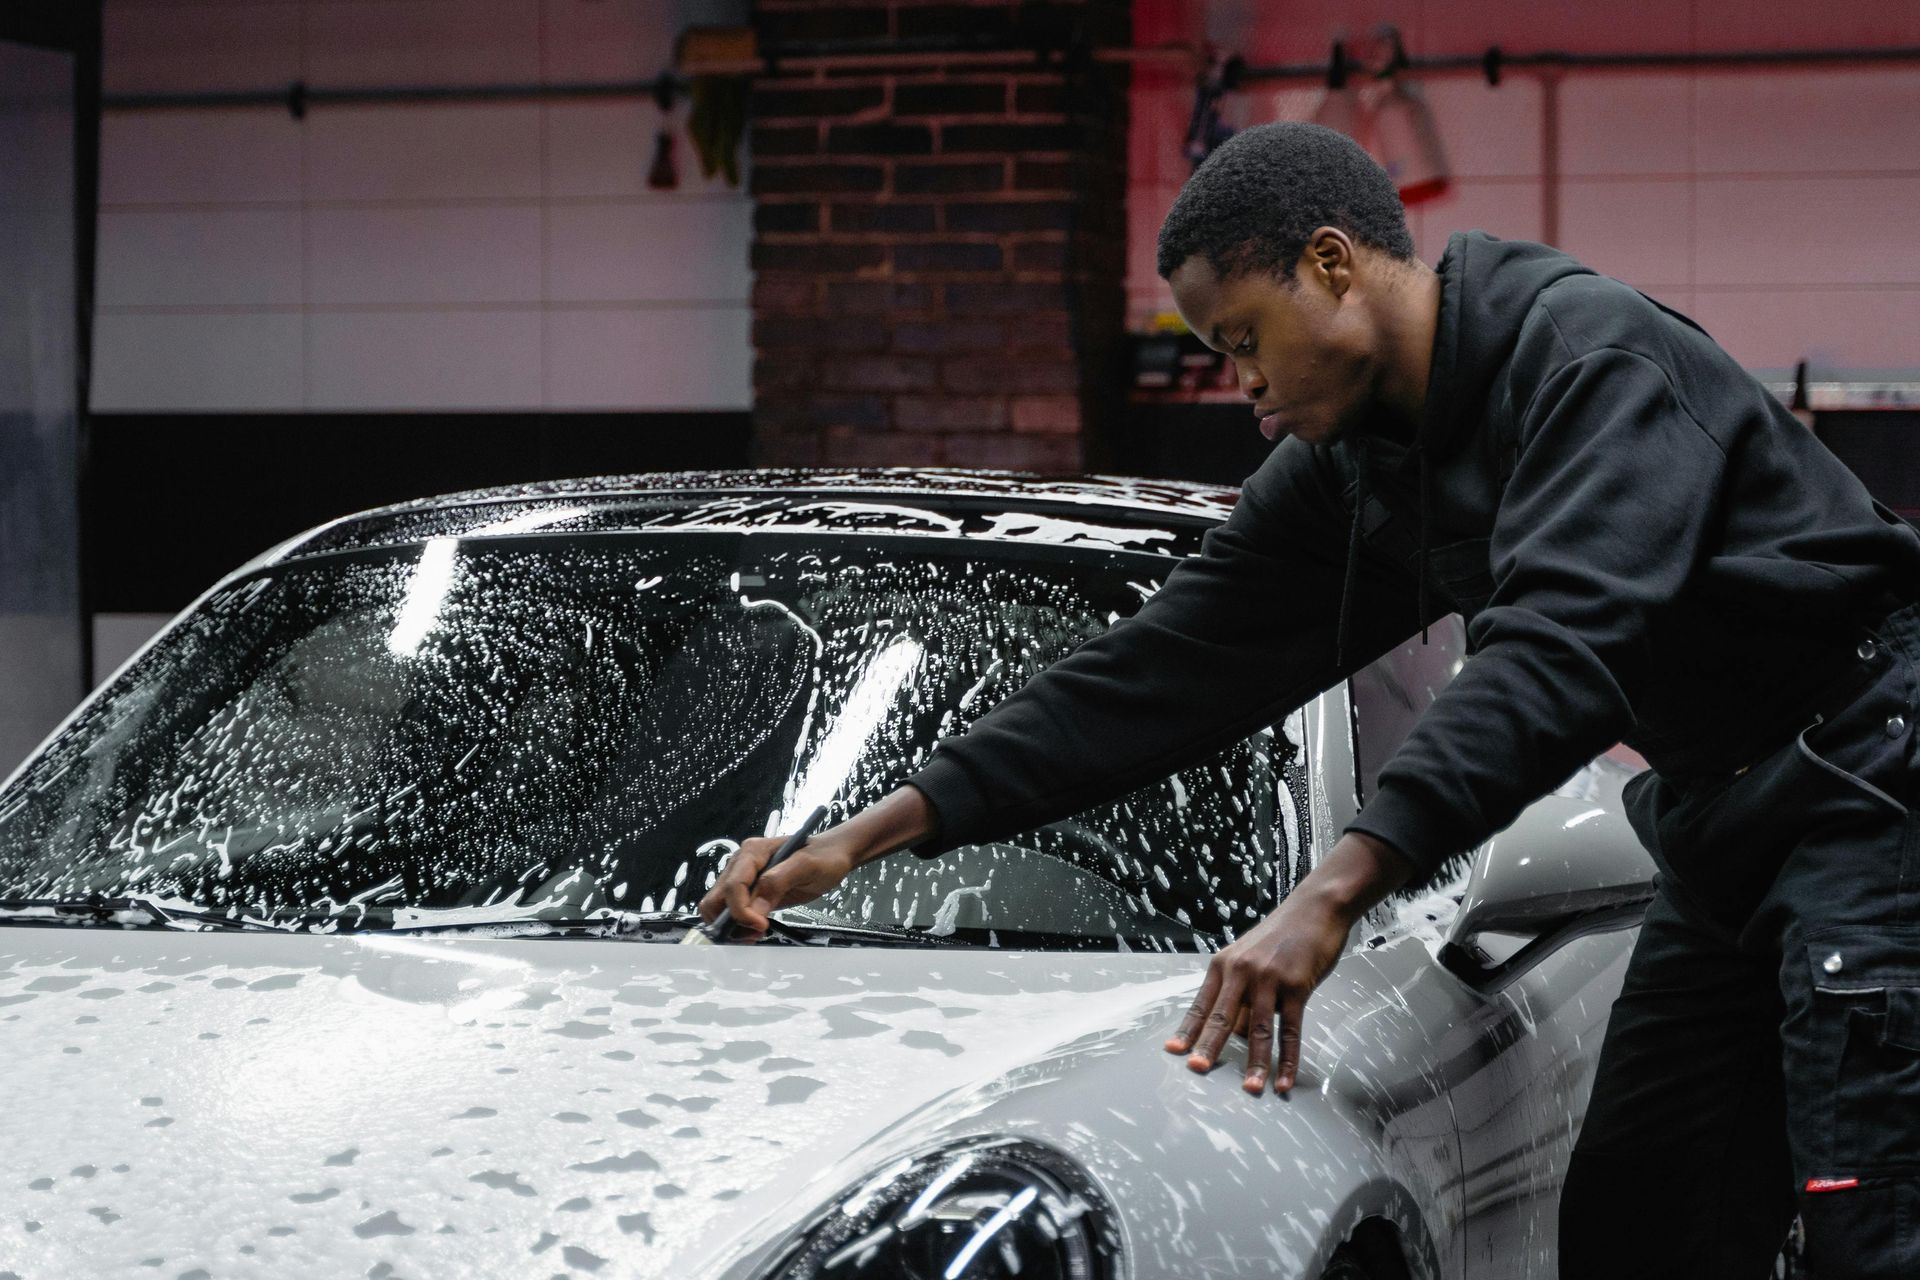
Start with a contactless pre-rinse to remove loose grit. A two-bucket wash with a quality mitt and pH-neutral soap gives you control without stripping existing protection. Dry with a clean towel or air to avoid water spots. If you want an even simpler path, rinseless wash products work well for lightly soiled cars in a garage or driveway, though they need careful technique to avoid dragging dirt.
Inside the car, a microfiber towel dampened with interior cleaner takes care of dust on dash and screens. Vacuum the carpets before you wipe hard surfaces, otherwise you send fine dust airborne and have to do the same work twice. Fabric seats respond well to spot cleaning with an enzyme cleaner. Leather appreciates a gentle cleaner and a light conditioner twice a year, not every weekend.
Tires and wheels offer instant visual payoff. A good wheel cleaner, soft brush, and tire scrub wake up the whole exterior. On neglected wheels, plan two rounds. Break dust that has browned into the tire sidewall needs extra agitation. Wheel wells benefit from an all-purpose cleaner and a long brush. Your first pass might feel tedious, the second pass goes faster, and maintenance after that is quick.
A detail spray or spray sealant after washing will create gloss and water beading with very little time invested. Use these helpers while the car is still wet, before drying, so your towel glides and you reduce the chance of marring.
Where DIY Can Be Tricky But Doable
Clay barring, light decontamination, and basic trim work sit in the middle ground. These jobs reward care, and the risk is real if you rush, but you can pull them off with the right technique.
Clay is used to remove bonded contaminants when the paint feels rough even after washing. Lubrication matters. Use a dedicated clay lube or diluted rinseless wash solution, and keep the pad clean by folding frequently. Expect light marring on softer paints, especially darker colors. Follow with a mild polish by hand or a finishing pad on a dual-action polisher to restore clarity. If you do not want to polish, consider a synthetic clay mitt that tends to be gentler, then follow with a spray sealant to mask minor haze.
Headlight restoration is another good candidate. If the lenses are yellowed and hazed, you can bring back 70 to 90 percent of the clarity with a sand, polish, and protect approach. Tape off nearby paint. Wet-sand progressively, move to polish, then apply a UV-stable sealant or coating. Many kits work fine, but the missing step is long-term UV protection. If you skip that, the haze returns in months rather than years.
Plastic trim that has turned gray can be revived with a trim restorer. Clean it thoroughly first. Oils or wax residue on the surface make the product streak. Apply thin coats and allow proper cure time. Stronger, longer-term trim coatings exist, but they are less forgiving during application and may streak if you wipe too soon.
What to Outsource: When Experience and Equipment Matter
You can buy the same brand names professionals use, but there is no substitute for repetition. Paint correction and ceramic coating, in particular, penalize mistakes. The consequences range from holograms to thin clearcoat, and the fixes take time and often involve cutting more paint than you intended.
Paint correction is controlled abrasion. You are removing microns of clear to level scratches and swirls. The safe path starts with paint thickness readings, test spots, and pad and liquid selection based on paint type and defect depth. Hard German clear behaves differently than soft Japanese clear. Single-stage paint from the 1990s absorbs product and heats up quickly. A pro spots this in the first wipe and shifts technique. If your vehicle is a daily driver with moderate swirls and you want a significant jump in clarity without risk, consider hiring out the correction. You can maintain the finish at home afterward.
Ceramic coating has a similar calculus. You need a surgically clean, perfectly prepped surface, controlled temperature and humidity, disciplined leveling, and a short learning curve you do not get on a single car. High-solids coatings can flash quickly, especially in warm garages, and leave high spots that harden into smears. Those need polishing to fix, which means you are back to re-prep and re-application. If you want the durability and chemical resistance of a true ceramic with a multi-year lifespan, this is often a better job to outsource. You can then handle the maintenance washes and toppers yourself.
Complicated interiors with delicate or high-value materials often benefit from professional hands. Alcantara can matt and shine if scrubbed wrong. Dye-transfer on pale leather responds to a narrow range of cleaners and brushes. Airbag covers do not like aggressive solvents. An experienced detailer reads the materials and stain type rv detailing before committing to a method.
Finally, specialty vehicles like RVs and boats introduce size, oxidation, and gelcoat variables that make the work fundamentally different. Marine detailing involves heavy oxidation removal and protection that stands up to UV and water. The square footage on an RV or a cabin cruiser can turn a “weekend project” into a multi-week grind without the right tools and a team.
A Practical Cost Ladder: Layer Your Spend
You do not have to choose between cheap and perfect. Think of car detailing as a layered system. You can spend modestly on routine tasks that prevent most damage, then selectively invest in professional work that sets a strong baseline.
A basic schedule might look like this: safe wash every one to two weeks, light interior wipe and vacuum monthly, decontamination twice a year. Add a pro paint correction every two to three years, followed by a ceramic coating that you maintain with your own washes and occasional toppers. If the vehicle lives outside, pull that pro work forward. If it sleeps in a garage, you can stretch intervals.
When you structure your spend this way, the professional time buys you a surface that is easy to keep nice. Your DIY time prevents backsliding. The end result is a car that looks better than most neighbors’ vehicles at a lower total cost than frequent one-off details.
How On the Spot Mobile Detailers Approaches the Line Between DIY and Pro
One of the more productive ways to think about outsourcing is to break the job into the parts that require controlled abrasion or cure-sensitive chemistry, and the parts that require routine care. On the Spot Mobile Detailers often divides labor this way in the field. We handle paint correction and ceramic coating, then leave clients with a simple wash and maintenance routine that fits their driveway and schedule.
Consider a recent mid-size SUV that arrived with dealership-installed swirls and a few deep rids behind the door handles. The owner washed weekly and kept the interior tidy, but the paint let the whole vehicle down. We measured paint, performed a two-stage correction only where needed, and finished with a ceramic coating on the paint and wheel faces. The owner now maintains the finish with a two-bucket wash, a quick wheel cleaner, and a spray topper every other month. Two years in, the SUV still beads water and the owner has not needed another machine polishing.
On the Spot Mobile Detailers also sees clients who enjoy hands-on work but want coaching on process. In those cases, we do a one-time baseline service and walk through the wash steps with the client in their own driveway so the setup and tools match their reality. The handoff matters. Good instructions beat a shelf full of products every time.
DIY-Friendly Products, Pro-Style Results
You do not need a cabinet packed with bottles. A small, well-chosen kit gets you most of the way. A pH-neutral car shampoo, rinseless wash concentrate, glass cleaner, all-purpose cleaner safe for interiors, fabric or leather-specific cleaner, tire and wheel products, and a spray sealant or topper cover weekly needs. Microfiber towels matter more than the label on the spray bottle. Keep wash media separate from wheel towels, and retire interior towels when they show snags or hardened spots.
For tools, a dual-action polisher is the one powered device that changes outcomes for the ambitious DIY detailer. It is safer than a rotary and paired with a finishing pad and fine polish, it can correct light haze from claying or remove light swirls without risking burning. Respect the limits. If you catch yourself leaning into the panel, you are trying to solve a problem that might not be a DIY problem.
When it comes to wheel coating and interior coating, you can use consumer-grade products that build on your wash routine. A dedicated wheel coating resists hot brake dust and makes cleaning faster. Interior coatings for leather or fabric act like invisible seat covers, reducing dye transfer and coffee stains. Their application windows are more forgiving than pro-only coatings, but surface prep still decides longevity. Vacuum seams, brush lightly, wipe with a dedicated interior prep, and apply thin, even coats.
Why Paint Correction Is Not a Saturday Experiment
The internet makes paint correction look simple at two speeds, too slow or too shiny. Real work without issues lives between those extremes. Heat, pad saturation, abrasive cut, and paint response tell you when to stop. An inexperienced operator will chase perfection on a deep scratch by cutting the surrounding clear instead of accepting that a 70 percent reduction in visibility is healthy and safe.
On metallic paints, chasing deeper defects can disturb flake orientation and make the area read differently in the sun. On repainted panels, the clear may be thinner than factory spec. On single-stage reds and blacks from older vehicles, the pad can load with pigment quickly, changing the cut mid-panel. These are judgment calls that you learn by doing dozens of cars and making small pivots, not by watching a clip and diving in.
Outsourcing correction might feel like a splurge, but it buys you back years of gloss and makes DIY washing a pleasure. That is worth more than another bin of “miracle” products.
Ceramic Coating: Worth It, But Only If You Respect the Prep
Ceramic coating changes maintenance more than it changes appearance. Expect tighter water behavior, better chemical resistance, and slower accumulation of grime. Expect slightly greater clarity and depth if the paint is corrected first. The coating does not hide swirls. It locks them in.
A common DIY mistake is skipping the panel wipe in favor of a final wash. That leaves surfactants and fillers on the paint that interfere with bonding. Another is applying too heavy a layer. Coatings want thin, even coverage. Heavy layers slow flash time and make leveling tricky, which leads to high spots. Finally, many home garages run warm in the afternoon. If your product says 70 degrees and your garage is 85, you now have a different material on the panel than the one you saw in the video.
If you want the benefits with fewer variables, have a shop or mobile pro coat the high-value areas, like paint and wheel faces. Maintain with pH-neutral soaps and compatible toppers. Use a decon wash every six months to remove road film and minerals, then reset with a topper. Your effort stays the same, but the results last longer.
Headlight Restoration: DIY With Guardrails
Headlight restoration is satisfying and does not demand exotic tools. The guardrails are grit selection, even pressure, and post-polish protection. Start with the least abrasive paper that will cut the oxidation, usually in the 1000 to 1500 range, then progress to 2000 and 3000. Keep the paper and lens wet. If you see clear horizontal lines that will not polish out, you jumped grits too quickly or pressed too hard.
After polishing, protect the lens. A ceramic headlight coating or a UV-stable sealant extends clarity for a year or more. Skipping protection is the reason so many “after” photos become “before” photos again by the next inspection sticker.
Specialty Surfaces: Marine Detailing, RV Detailing, and Residential Coating
On boats and RVs, the substrate and environment drive the playbook. Gelcoat on a boat oxidizes heavily and returns slowly to gloss without rotary power and marine-specific compounds. Marine detailing often involves multi-stage compounding, followed by a sealant or ceramic designed for UV, salt, and fresh water. Attempting this with automotive polish on a DA can eat days and still leave chalky panels.
RV detailing brings its own challenges. The surface area is enormous, access is awkward, and the mix of fiberglass, decals, plastic, and painted metal means you switch products constantly. A mobile detailing team with scaffolding or taller platforms moves faster and safer than a single person with a step ladder. If you own an RV, the smart budget play is to hire a once or twice yearly full service, then wash and spot clean yourself between trips.
Residential coating is a term some shops use for protective coatings on surfaces around the home, like garage doors or painted doors exposed to sun and grime. The chemistry overlaps with automotive coatings, but surface prep differs. If you are already in a rhythm with a pro for your vehicles, it is worth asking whether they support those exterior surfaces, especially in climates with heavy UV where paint chalks.
When Mobile Detailing Adds Value You Cannot Replicate
Time and environment can be as important as technique. On the Spot Mobile Detailers brings controlled process to your driveway without asking you to clear half a day to drive and wait. That matters if you have a layered to-do list and a car that needs help beyond a wash. It also matters in neighborhoods where water use is restricted, since water-smart methods and containment are standard parts of a mobile setup.
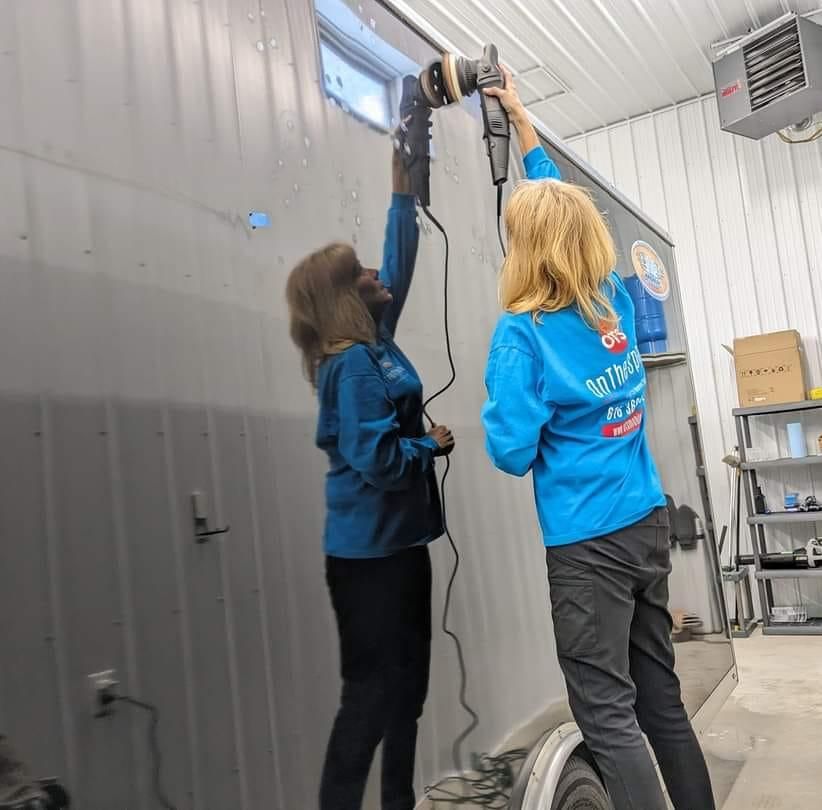
In practice, the decision to call a mobile team often hinges on logistics, not skill. If you do not have garage space, weather and daylight become variables that ruin careful plans. If you do have a garage but not the equipment, machine polishing throws dust that finds its way onto everything. Mobile detailing contains that mess in the work area and gets the vehicle back into service same day.
Wheel Coating and Brake Dust: A Small Upgrade With Big Payoff
Wheels endure the worst of the road. Hot brake dust etches bare finishes and bakes into pores in clear-coated wheels. A dedicated wheel coating resists that heat and contamination. The result is less scrubbing and fewer harsh chemicals. For budget-minded owners, this is one of the best places to spend, especially if your commute is heavy on traffic and heavy on brakes.
You can apply consumer wheel coatings at home if you are patient. Clean the wheels thoroughly, decontaminate with iron remover, polish if needed, and wipe with a panel prep. Apply thin coats and respect cure time before driving, or brake dust will embed in the fresh layer. A pro-grade coating applied by a shop or mobile team will usually last longer, sometimes measured in years rather than seasons, notably on vehicles with spirited driving or larger brakes.
Interior Coating: When It Helps, When It Is Overkill
Interior coating is a helpful guard for light-colored leather, family cars with car seats, or ride-shares that see a lot of traffic. On porous fabrics, a hydrophobic coating buys you time to blot spills before they migrate. On coated automotive leather, which most modern vehicles use, an interior coating reduces dye transfer and scuffs. The feel should remain close to stock. If it turns slick or shiny, too much product went down.
For budget purposes, prioritize high-touch zones: driver seat bolsters, steering wheel, and center armrest. If you do not see stains or wear patterns yet, a gentle cleaner and a soft brush used regularly may be enough, and you can defer the coating until the first signs of dye transfer appear.

The Maintenance Playbook After Pro Work
If you invest in paint correction or a ceramic coating, your weekly habits decide the lifespan of that work. Avoid automatic brushes and cheap towels. Use the two-bucket method or a contactless pre-rinse, and do not wash in the sun if you can avoid it. If water spots appear, tackle them quickly with the least aggressive method that works. Coated cars often need a decon wash, not an abrasive polish, to restore performance.
Touch-ups matter. A light spray sealant or topper compatible with your coating refreshes hydrophobics and makes the next wash easier. Wheels benefit from a dedicated cleaner that leaves protection behind, but not all wheel cleaners play well with coatings. Test in a small area if you switch brands.
Two Short Lists To Help You Decide
When to DIY:
- Routine washes and drying with proper tools and technique.
- Interior vacuuming, wipe downs, and spot cleaning on fabric or coated leather.
- Headlight restoration with careful sanding, polishing, and UV protection.
- Clay and light polishing on minor haze, followed by a spray sealant.
- Wheel and tire cleaning on a regular schedule.
When to outsource:
- Paint correction on anything beyond light swirls.
- Ceramic coating if you want multi-year durability and uniform results.
- RV detailing or marine detailing that involves oxidation removal and large surfaces.
- Deep interior services on delicate materials, smoke odor, or bio cleanup.
- Decal removal, overspray removal, or etching that requires controlled abrasion.
Budget Tactics That Keep Cars Looking Better For Longer
A rinseless wash concentrates cost pennies per wash and reduces water spotting. Buy towels in bulk from a trusted source, color-code them by task, and retire them before they scratch. Work in the shade, not to be precious, but because it multiplies your effort. Keep your tools clean and separate. One wheel towel accidentally touching the paint can undo a careful morning.
Rotate protection. If you use a spray sealant after each wash, you can often skip a full decon and reapply cycle until the six-month mark. If you drive through winters with salt, schedule a spring decon as a reset, then a fall refresh before the first storms.
Before you buy another bottle, ask whether a change in process would solve the problem. Streaky glass often needs a different towel and two passes at 90 degrees, not a new cleaner. Stubborn traffic film on coated paint often yields to a decon wash, not more pressure with a mitt.
A Real-World Example: Stretching a Budget Over a Year
A compact crossover that lives outside sees rain, pollen, and weekly school runs. The owner wants the car to look good but has limited weekend time and a practical budget. The plan looks like this: spring decon, professional single-stage paint correction focused on the horizontal panels where etching is worst, and a two-year ceramic coating on paint and wheel faces. After that, weekly hand washes take 30 minutes. A spray topper goes on every other month. The owner does interior wipe downs while the exterior drips dry. At the one-year mark, a maintenance decon wash revives the coating’s water behavior. Total pro time across twelve months stays contained, and the owner’s time does not balloon.
This kind of hybrid plan keeps overall appearance high while reserving skilled labor for the heavy lifting. I have seen it beat piecemeal one-off details in both cost and results.
How On the Spot Mobile Detailers Builds Maintenance Into Every Service
A well-detailed car that is hard to maintain is a short-lived victory. On the Spot Mobile Detailers sets up post-service care with the tools and steps that make sense for your driveway, not a showroom. We favor protection on the touch points that save you time, like wheel coating for heavy-brake commuters and interior coating on pale bolsters in family cars. We label and leave behind a simple wash routine that matches what you already own, with suggestions only where they move the needle.
When a client requests ceramic coating, we tune the choice to their environment, sun exposure, and wash habits. A garage-parked coupe that sees weekend miles does not need the same stack as a work truck that sits outside and hauls gear. The goal is not to sell the thickest coating, it is to right-size protection so your DIY care keeps the finish looking fresh between visits.
Final Thought: Let the Surface Tell You Where to Spend
If the paint still looks flat after a careful wash, you are looking at bonded contaminants or etched defects. If the gloss pops but grime returns quickly, you need better protection. If the interior cleans easy but shows scuffs in the same place every month, target that spot with an interior coating. Answer those signals with the right mix of your time and a professional’s time.
Auto detailing, car detailing, and all the niche branches around them succeed on fundamentals. Keep dirt off the paint. Protect surfaces that see friction, heat, or sun. Use abrasion only when you must, and then with control. Save your budget for the work where skill and equipment decide outcomes. Whether it is a sedan, a fishing boat that needs marine detailing, or an RV that swallows entire weekends, the right division of DIY and outsourced work gives you a cleaner, longer-lasting result without overspending.

Public Last updated: 2026-03-22 02:24:53 PM